Understanding the Problem Before You Start Cleaning
Mold growth on walls and ceilings is more than just an aesthetic issue. It is often a sign of excess moisture, poor ventilation, or hidden water damage. Before learning how to remove mold, it is important to understand why it appears in the first place. Mold thrives in damp, warm, and poorly ventilated areas such as bathrooms, kitchens, basements, and rooms with water leaks.
When mold is left untreated, it can spread quickly across surfaces and even affect indoor air quality. This is why learning how to remove mold properly is essential for maintaining a healthy home environment.
Safety Precautions Before Mold Removal
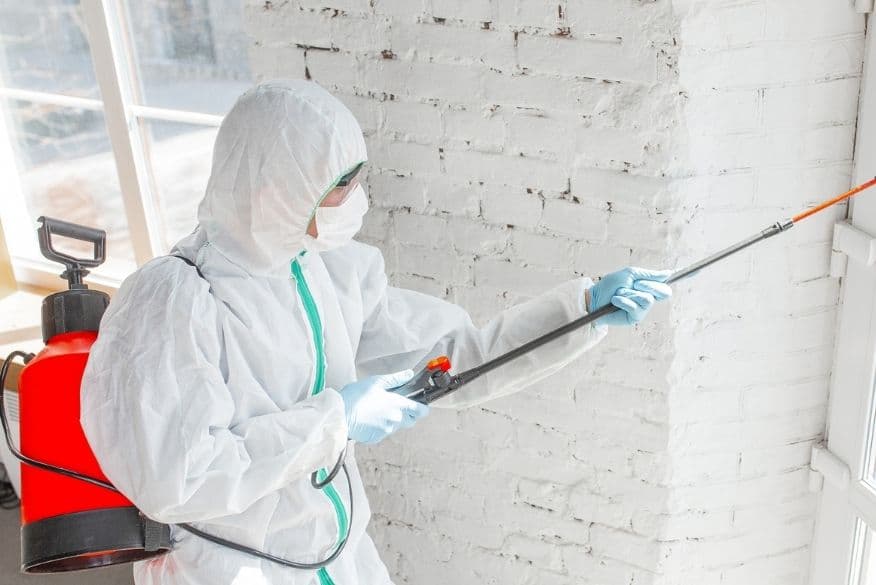
Before starting any cleaning process, safety should be your top priority. Mold spores can become airborne during cleaning, so proper protection is necessary.
Wear protective gloves, a mask (preferably N95 or higher), and safety goggles to avoid direct exposure. Make sure the room is well-ventilated by opening windows or using fans. If the mold covers a large area (more than 10 square feet), it may be safer to consult professionals instead of attempting extensive cleanup yourself.
Understanding how to remove mold safely ensures you do not spread contamination or risk your health during the process.
Identifying the Type of Mold and Surface Damage
Not all mold is the same, and the surface it grows on affects the cleaning method. On walls and ceilings, mold often appears as black, green, or brown patches. Sometimes it may look like small spots, while other times it forms larger clusters.
Painted walls, drywall, and plaster surfaces require careful handling because aggressive scrubbing can cause damage. Before you begin, inspect whether the mold is only on the surface or has penetrated deeper into the material. This step is important when learning how to remove mold effectively without causing structural damage.
Preparing the Area for Cleaning
Once you have identified the affected area, prepare the room properly. Remove furniture, decorations, or any items close to the moldy surface. Cover the floor with plastic sheets or old cloths to prevent contamination.
Seal off the area if possible to stop mold spores from spreading to other rooms. Good preparation is a key step in understanding how to remove mold efficiently and prevent it from returning.
Basic Cleaning Method for Small Mold Areas
For small patches of mold on walls and ceilings, you can use simple household cleaning solutions.
Start by mixing water with mild detergent or white vinegar. Apply the solution to the affected area using a sponge or cloth. Gently scrub the mold in circular motions. Avoid scrubbing too hard, especially on painted or delicate surfaces.
After cleaning, wipe the area with a clean damp cloth and allow it to dry completely. Proper drying is crucial because moisture is the main reason mold returns.
This basic method is often enough for mild cases when learning how to remove mold at home.
Using Stronger Solutions for Stubborn Mold
If mold stains remain after basic cleaning, stronger solutions may be required. A common option is a mixture of water and bleach (1 part bleach to 3 parts water). This solution helps kill mold spores more effectively on non-porous surfaces like tiles and sealed walls.
Apply the solution carefully using a spray bottle or sponge. Let it sit for a few minutes before scrubbing. Always ensure proper ventilation when using bleach.
However, avoid using bleach on porous materials like drywall or wood, as it may not fully remove mold roots inside the material. Knowing when to use stronger solutions is an important part of learning how to remove mold safely and effectively.
Removing Mold from Ceilings
Ceilings are more challenging because of their height and angle. Mold often appears in corners or near areas with roof leaks or condensation.
Use a stable ladder and ensure safety before starting. Apply your chosen cleaning solution with a sponge or spray bottle. Work slowly in sections to avoid dripping and spreading spores.
For textured ceilings, be extra gentle to avoid damaging the surface. If mold keeps reappearing, it may indicate a hidden leak that needs repair. Understanding how to remove mold from ceilings also involves addressing the root cause.
Drying and Ventilation After Cleaning
After cleaning, drying the area completely is essential. Use fans, dehumidifiers, or open windows to improve airflow. Moisture left behind can quickly lead to regrowth.
Maintaining proper ventilation is one of the most important long-term strategies in how to remove mold and prevent it from returning. Bathrooms and kitchens especially benefit from exhaust fans that reduce humidity levels.
Preventing Mold from Coming Back
Removing mold is only half the solution. Preventing it from returning is equally important.
Fix any leaks in roofs, pipes, or walls as soon as they are detected. Keep humidity levels in your home below 50% using dehumidifiers if needed. Regularly clean and inspect areas prone to moisture buildup.
Painting walls with mold-resistant paint can also help reduce future growth. Prevention plays a key role in mastering how to remove mold in a long-term, effective way.
When to Call a Professional
In some cases, mold problems are too large or deeply embedded for DIY solutions. If mold keeps returning, covers a large area, or is caused by hidden water damage, professional help is recommended.
Experts use specialized equipment and treatments that go beyond surface cleaning. Knowing when to stop DIY efforts is just as important as learning how to remove mold yourself.
Final Thoughts on Mold Removal
Mold on walls and ceilings is a common household issue, but it should never be ignored. With the right approach, tools, and safety measures, small infestations can be handled effectively at home.
Learning how to remove mold properly involves preparation, careful cleaning, and most importantly, prevention. By controlling moisture and maintaining good ventilation, you can keep your home clean, safe, and mold-free for the long term.